
Uploads / Media Manager
Introduction
Uploads / Media Manager is a tool to upload and manage files very similar to WordPress Media section. Its gives you interface to upload files via DropzoneJS. Later on it gives you ability to customize its visibility access & editable SEO friendly filenames and much more.
Using Uploads Manager
Setup & Configuration
There are basically two steps to get this configuration done:
1. Create folder structure to store files
You will need two folders inside storage:
uploads- To store uploaded files.thumbnails- To store generated thumbnail files with different sizes.
You also need to make sure about these folder's writable permissions.
/storage folder which is outside public reach to secure the files. Check Access Methods to see How we can access file privately & publicly.
2. LaraAdmin Uploads Configuration
To store LaraAdmin related configurations we generate file config/laraadmin.php in installation process. This file contains configuration for Admin Routes and for Uploads. There are basically 3 configurations for uploads
private_uploads - true / false
By setting this parameter true we can make all uploaded files as private which are accessible with login only. Setting false will make file public. Depending on what kind of application you chose to create you can set this. e.g. CRM files should not be accessible outside. But a website needs images to be public.
You can also make all files public except few ones. This setting is there in Uploader Dropzone.
2.default_public - true / false
Setting this option will set default access in Uploader Dropzone. You can override this while actually uploading files in Uploader.
3.allow_filename_change - true / false
This setting will help you change filenames once file is uploaded. Very helpful in giving SEO friendly names afterwords.
Uploading & Managing
Uploading and managing files is so easy in LaraAdmin. Just click on Add New button and DropzoneJS will slide down. You can drag & drop multiple files or click on area and select files. DropzoneJS will handle the request and uploads the file to server. Once uploaded file grid below will be refreshed and you can see your uploaded files there.
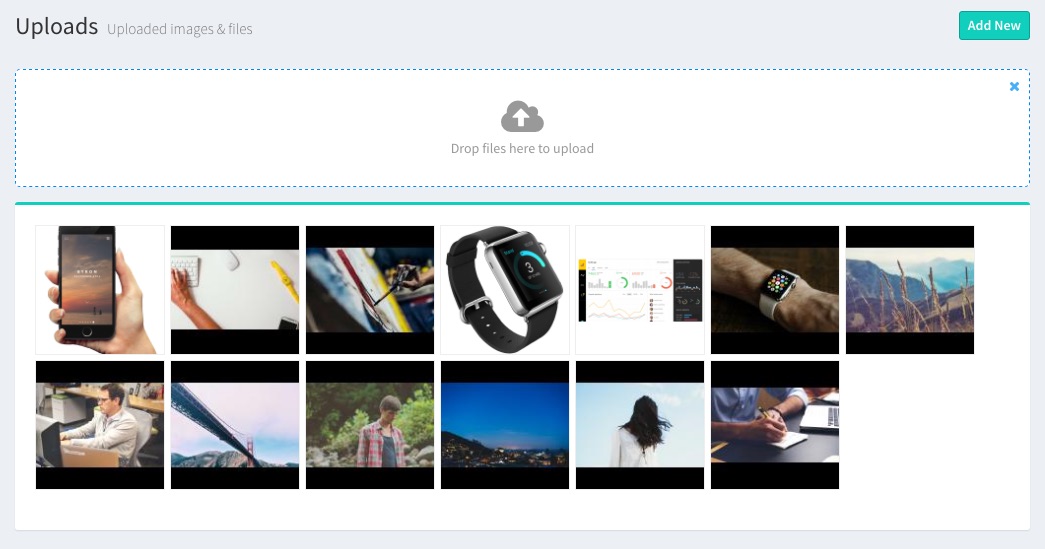
Uploaded files will be saved into /storage/uploads folder with time-string concatenated with filenames. As these files will not be accessed directly time-string won't affect.
If you carefully see the thumbnail's url of uploaded files you will find a Unique Hash Code within it.
/files/kzrbvsclcdexfn13tbaj/apple_watch.png?s=130Here kzrbvsclcdexfn13tbaj is Unique Hash Code which is used for security, apple_watch.png is name of uploaded file and s=130 is thumbnail square size parameter (130 x 130) px. If you remove remove parameter s then you will get original uploaded file.
Editing file details:
If you click on any image / file uploaded in Uploads section you will see a modal with file information such as File Name, Full URL, Label and Visibility Status.
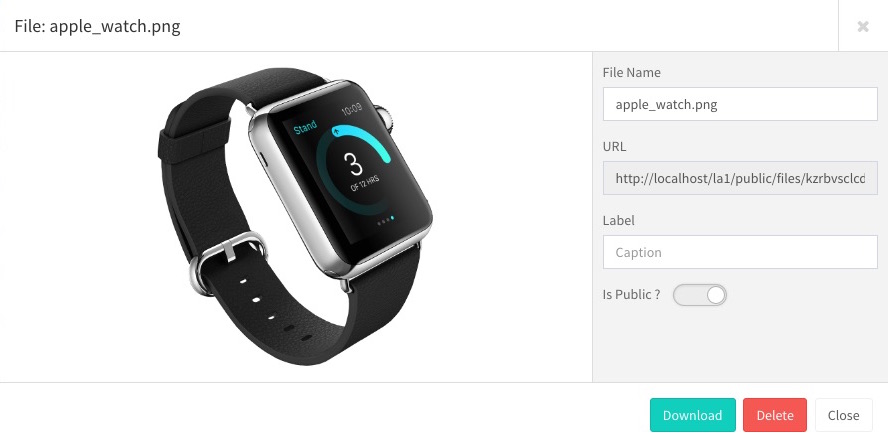
In order to edit File name you need to set allow_filename_change as true. This option will not change filename of uploaded file but only the entry in database table uploads.
URL is readonly field showing link to file with included Unique Hash string. Label is for Meta information about File, which is used for alt and title attributes. Is Public is checkbox by which you can make file public or private.
Access Methods
Access Uploaded File via id:
To access the uploaded files in program you can use following function. In database we don't store file name but file id from uploads table. We can use file id to get Image Path, URL, Name, Label, Extension, User, Visibility and Unique Hash Code.
use App\Models\Upload;

$img = Upload::find($img_id); // Get Upload Object

$img->path() // Get File URL e.g. http://localhost/la1/public/files/kzrbvsclcdexfn13tbaj/apple_watch.png
$img->path // Get File Path e.g. /Applications/MAMP/htdocs/la1/storage/uploads/2016-10-24-210112-apple_watch.png
$img->caption // Get File Caption e.g. Apple Watch
$img->name // Get File Name e.g. apple_watch.png
$img->extension // Get File Name e.g. png
$img->hash // Get File Security Hash Code e.g. kzrbvsclcdexfn13tbaj
$img->public // Get File Visibility e.g. 1 for Public & 0 for private

$img->user // Get Object of User who uploaded the image
$img->user->name // Get Name of User who uploaded the image
To use it as image in blade file you can use it as below:
<img src="{{ $img->path() }}" alt="{{ $img->caption }}">
<img src="{{ url('files/'.$img->hash.'/'.$img->name)}}" alt="{{ $img->caption }}">
Get User Uploads:
You can get all uploads of User via User Object
$user = User::find($user_id);
// OR
$user = Auth::user(); // Get current login user

$uploads = $user->uploads();
foreach ($uploads as $upload) {
	$upload->name;
}
Is this content useful ?